This article provides a guide for creating a self-hosted Status Page, including how to deploy Cachet Status Page on AlmaLinux VPS.
What is Cachet Status Page?

Cachet is an open-source status page system that allows organizations to communicate the status of their services to their customers or users in a clear and efficient manner. It’s designed to provide transparency and build trust by letting users know the current state of your services and any ongoing or past incidents.
Key Features of Cachet
- Incident Management:
- Report incidents and keep your users updated with detailed information about the issue, its impact, and the progress towards resolution.
- Schedule maintenance and notify users in advance.
- Service Monitoring:
- Monitor the status of multiple services and display their health on a public status page.
- Categorize services and display their status individually or collectively.
- Metrics:
- Display key metrics related to your services such as response times, uptime percentages, etc.
- Graphical representation of metrics helps users understand service performance over time.
- Customizable Design:
- Fully customizable design to match your brand.
- Supports custom logos, colors, and themes.
- Multi-language Support:
- Supports multiple languages to cater to a global audience.
- API:
- Provides a RESTful API for automation and integration with other tools.
Benefits of Using Cachet
- Transparency:
- Keeps users informed about the status of your services, which helps in building trust.
- Reduces the volume of support queries during an incident.
- Efficiency:
- Quickly communicate service disruptions and updates, saving time for support and operations teams.
- Proactive Communication:
- Users appreciate being kept in the loop about service status and planned maintenance.
- Historical Data:
- Maintain a record of past incidents and performance metrics, which can be valuable for post-mortem analysis and continuous improvement.
Use Cases for Cachet
- SaaS Providers: Inform customers about the status of their cloud services.
- IT Departments: Internal use for communicating the status of enterprise IT services.
- Web Hosting Providers: Update clients on server and network status.
- APIs: Public API providers can communicate uptime and service health.
- Small-to-Medium Enterprises: Provides a central repository reporting service status
By using Cachet, organizations can enhance their communication strategy during service disruptions, thereby improving customer satisfaction and trust.
Prerequisites
Before proceeding, ensure you have:
- A AlmaLinux VPS set up with AlmaLinux 8.x (fresh install).
- Root or sudo privileges on the server.
- A stable internet connection.
- Basic knowledge of the command line.
How to Deploy Cachet Status Page on AlmaLinux VPS
Deploying Cachet status page and service monitoring on an AlmaLinux VPS involves several steps, including setting up the server, installing necessary dependencies, configuring Cachet, and ensuring it’s up and running. Here’s a comprehensive guide to help you through the process:
Step 1: Initial Server Setup
- Login as root via SSH.
- Install public key on AlmaLinux 8 VPS.
- Update the system:
sudo dnf update -y - Install EPEL repository:
sudo dnf install epel-release -y - Install necessary packages:
sudo dnf install wget curl git unzip -y
Step 2: Install PHP and Dependencies
- Add the Remi repository:
sudo dnf install https://rpms.remirepo.net/enterprise/remi-release-8.rpm -y - Enable the Remi PHP repository:
sudo dnf module reset php -y sudo dnf module enable php:remi-7.4 -y - Install PHP and necessary extensions:
sudo dnf install php php-cli php-fpm php-mysqlnd php-json php-opcache php-xml php-gd php-mbstring php-tokenizer php-process php-zip -y - Start and enable PHP-FPM:
sudo systemctl start php-fpm sudo systemctl enable php-fpm
Step 3: Install Redis Caching Server
- Run the following command to install Redis:
sudo dnf install -y @redis sudo systemctl enable --now redis systemctl status redis - Update the server’s firewall to allow remote connection (if necessary):
sudo firewall-cmd --add-port=6379/tcp --permanenent sudo firewall-cmd --add-port=6379/tcp --permanent sudo firewall-cmd --reload systemctl status redis - Install Redis PHP extension:
sudo dnf -y install php-pecl-redis
Step 4: Install and Configure MySQL
- Install MySQL server:
sudo dnf install mysql-server -y - Start and enable MySQL:
sudo systemctl start mysqld sudo systemctl enable mysqld - Secure MySQL installation:
sudo mysql_secure_installation - Create a database and user for Cachet:
sudo mysql -u root -pInside the MySQL shell:
CREATE DATABASE cachet; CREATE USER 'cachetuser'@'localhost' IDENTIFIED BY 'yourpassword'; GRANT ALL PRIVILEGES ON cachet.* TO 'cachetuser'@'localhost'; FLUSH PRIVILEGES; EXIT;
Step 5: Install Composer
- Download and install Composer:
php -r "copy('https://getcomposer.org/installer', 'composer-setup.php');" php composer-setup.php --install-dir=/usr/local/bin --filename=composer php -r "unlink('composer-setup.php');" - Move composer.phar into a directory on your PATH:
sudo mv composer.phar /usr/local/bin/composer - Verify Composer installation:
composer --version
Step 6: Install Cachet
- Clone the Cachet repository:
cd /var/www sudo git clone https://github.com/CachetHQ/Cachet.git cd Cachet sudo git checkout 2.4 - Install Cachet dependencies:
sudo composer install --no-dev -o - Set directory permissions:
sudo chown -R apache:apache /var/www/Cachet sudo chmod -R 755 /var/www/Cachet/storage /var/www/Cachet/bootstrap/cache
Step 7: Configure Cachet
- Copy the environment configuration file:
sudo cp .env.example .env - Edit the
.envfile to configure Cachet:sudo nano .envModify the following lines:
APP_ENV=production APP_DEBUG=false APP_URL=http://your-domain.com DB_DRIVER=mysql DB_HOST=127.0.0.1 DB_DATABASE=cachet DB_USERNAME=cachetuser DB_PASSWORD=yourpassword - Generate the application key:
sudo php artisan key:generate - Run the database migrations:
sudo php artisan migrate --force - Set the correct permissions again:
sudo chown -R apache:apache /var/www/Cachet sudo chmod -R 755 /var/www/Cachet/storage /var/www/Cachet/bootstrap/cache
Step 8: Configure Apache
- Create a new virtual host configuration file for Cachet:
sudo nano /etc/httpd/conf.d/cachet.conf - Add the following content to the file:
<VirtualHost *:80> ServerName your-domain.com DocumentRoot /var/www/Cachet/public <Directory /var/www/Cachet/public> AllowOverride All Require all granted </Directory> ErrorLog /var/log/httpd/cachet_error.log CustomLog /var/log/httpd/cachet_access.log combined </VirtualHost> - Restart Apache to apply the changes:
sudo systemctl restart httpd
Step 9: Set Up Cron Jobs
- Open the crontab editor:
sudo crontab -e - Add the following line to run Cachet’s scheduled tasks:
* * * * * php /var/www/Cachet/artisan schedule:run >> /dev/null 2>&1
Step 10: Accessing Cachet
- Open your web browser and navigate to your domain (e.g., http://your-domain.com).

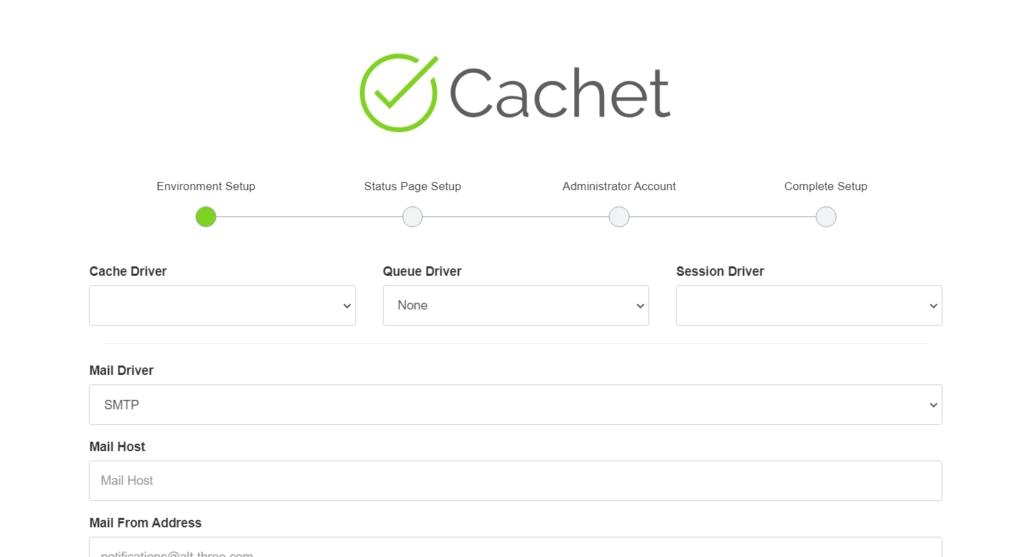
- Follow the setup instructions on the Cachet web interface to complete the configuration.
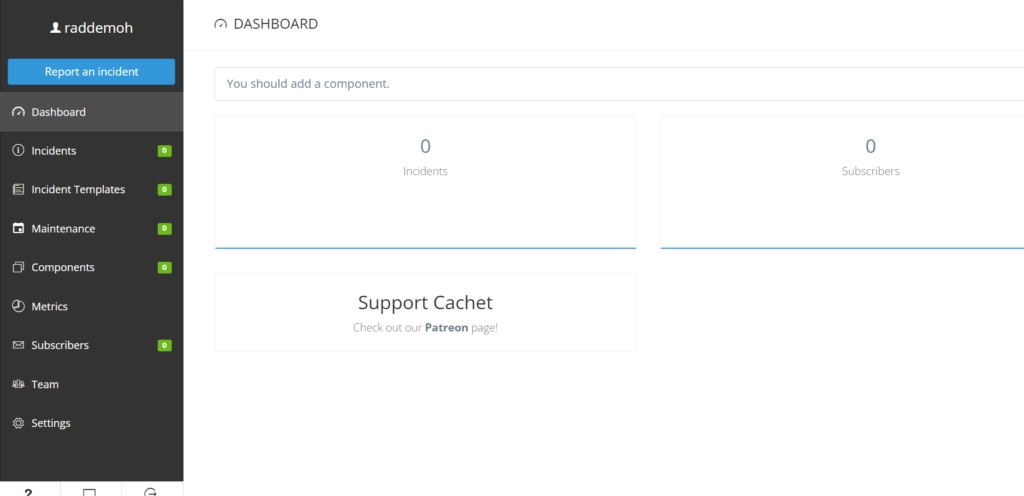
- Login to the Cachet Dashboard once setup is complete.

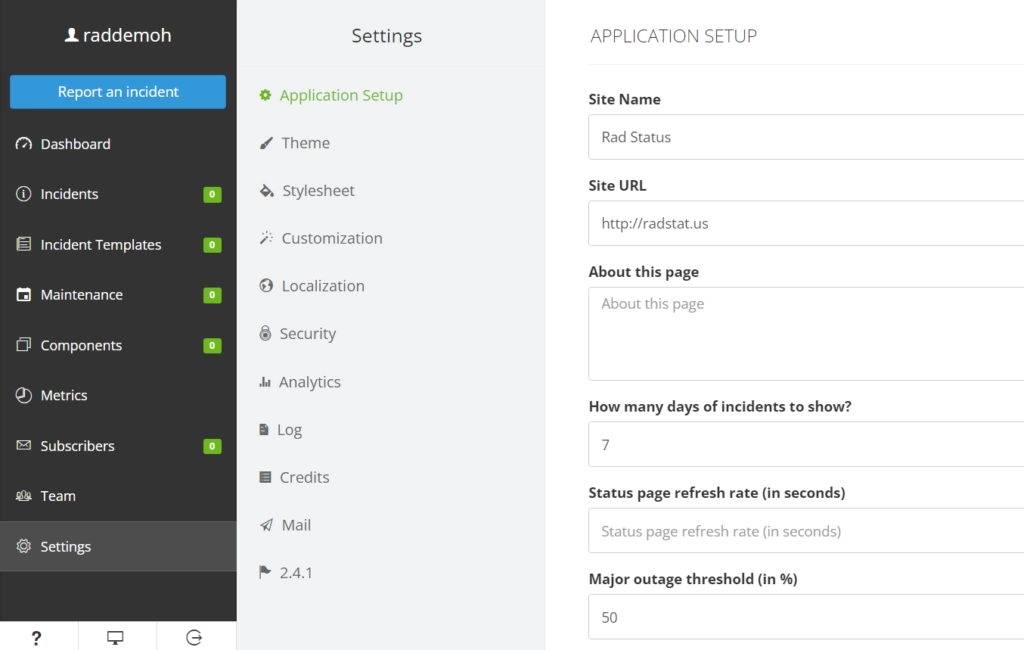
- Cachet Dashboard provides full customization and integration for your Status Page.

- Recommended: Enable Two-Factor authentication for your Cachet administrators.
Step 11: Securing Your Cachet Installation
- Install and configure a firewall (optional but recommended):
sudo firewall-cmd --permanent --add-service=http sudo firewall-cmd --permanent --add-service=https sudo firewall-cmd --reload - Secure your site with SSL (optional but recommended):
- You can use Let’s Encrypt to obtain a free SSL certificate:
sudo dnf install certbot python3-certbot-apache -y sudo certbot --apache
- You can use Let’s Encrypt to obtain a free SSL certificate:
By following these steps, you will have a fully functioning Cachet status page and service monitoring set up on your AlmaLinux VPS. This setup will help you monitor and communicate the status of your services effectively.
Conclusion
You’ve now successfully installed and configured Cachet Status Page on AlmaLinux VPS. This setup enhances your ability to communicate service status updates with your users, and establishes a centralized location where all service status-related updates will be provided.


