This article provides a guide for server administrators who want to install InterWorx on VPS server with VPS Panel. VPS Panel offers automated installation process of several server control panel software.
What is InterWorx?
The InterWorx Hosting Control Panel is a Linux web hosting control panel offering a plethora of features for both the system administrator and website owner. The panel also offers clustering in order to be able to expand beyond what the conventional stand-alone server can offer.
InterWorx Pricing
InterWorx is a commercial software requiring an active license key to function. License fees start from $7.50 USD/mo for VPS and $20.00 USD/mo for dedicated servers.
InterWorx System Requirements
To install InterWorx on a CentOS VPS, the following conditions must be met:
Minimum Hardware Requirements:
- Processor: 1.1 GHz.
- Disk Space: 20 GB minimum; 40 GB recommended.
- Memory: 1 GB minimum RAM with 3 GB minimum swap.
- If the system has more than 1 GB RAM, the RAM to swap ratio should be as follows:
- 2 GB RAM should have at least 4 GB swap.
- 4 GB – 8 GB RAM should have the same amount of swap as RAM.
- If more than 8 GB of RAM, there should be at least 4 GB swap
- If the system has more than 1 GB RAM, the RAM to swap ratio should be as follows:
Supported Operating Systems:
- RedHat Enterprise 7.x 64 bit Architecture
- CentOS 7.x 64 bit Architecture
- CloudLinux 7.x 64 bit Architecture
- RedHat Enterprise 8.x 64 bit Architecture
- AlmaLinux 8.x 64 bit Architecture
- Rocky Linux 8.x 64 bit Architecture
- CloudLinux 8.x 64 but Architecture
How to Install InterWorx on VPS Server with VPS Panel
Follow the steps provided to install InterWorx on a VPS with VPS panel:
- Login to VPS Panel
- Navigate to “List VPS” (from side menu)
- Select the VPS that InterWorx will be installed on
- View VPS information to verify server details
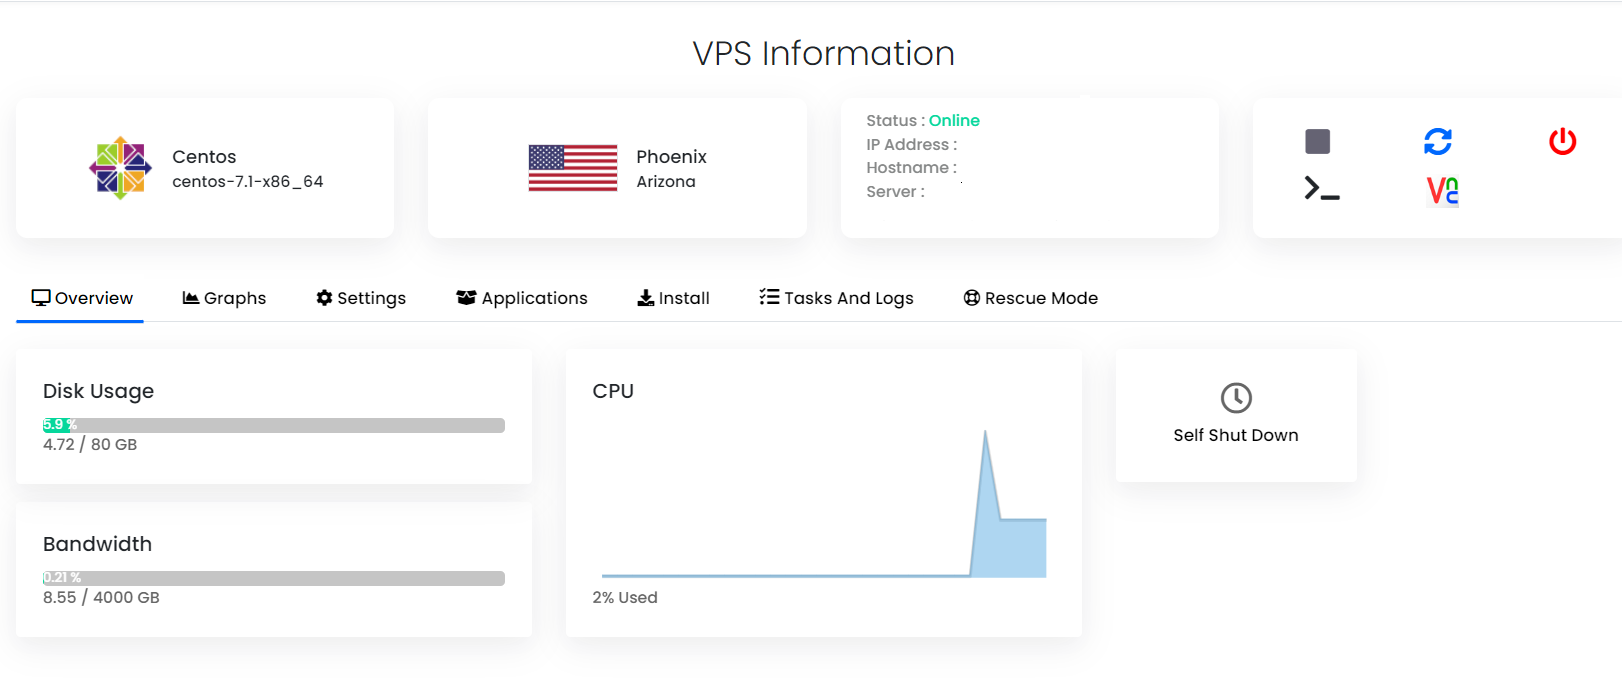
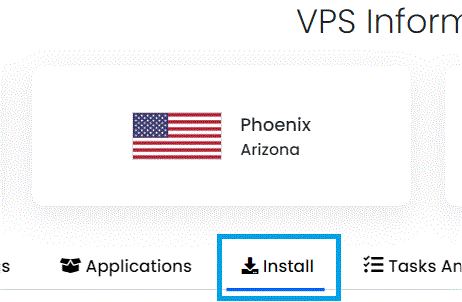
- Navigate to “Install” tab.
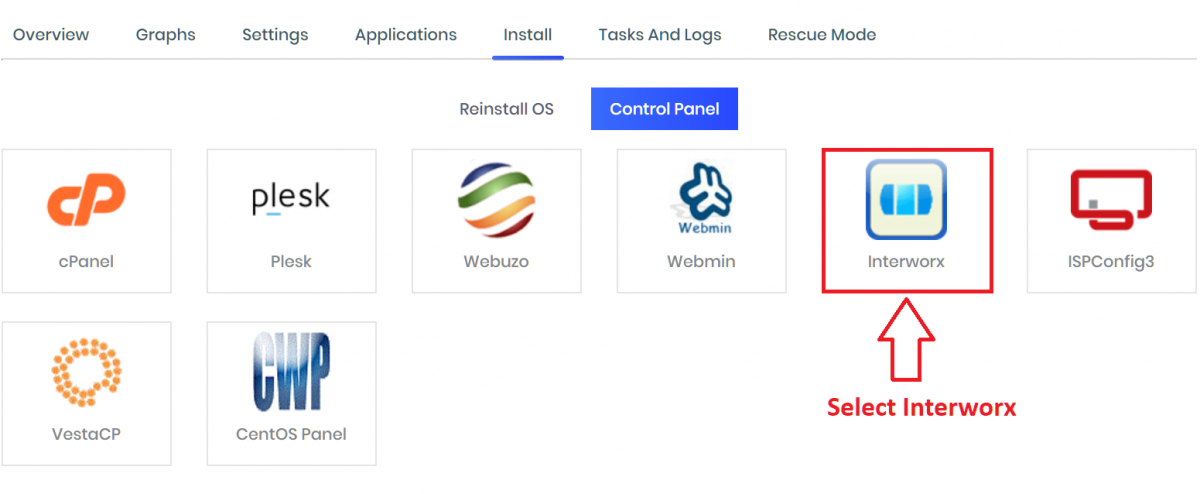
- Select InterWorx from the “Control Panels” menu.
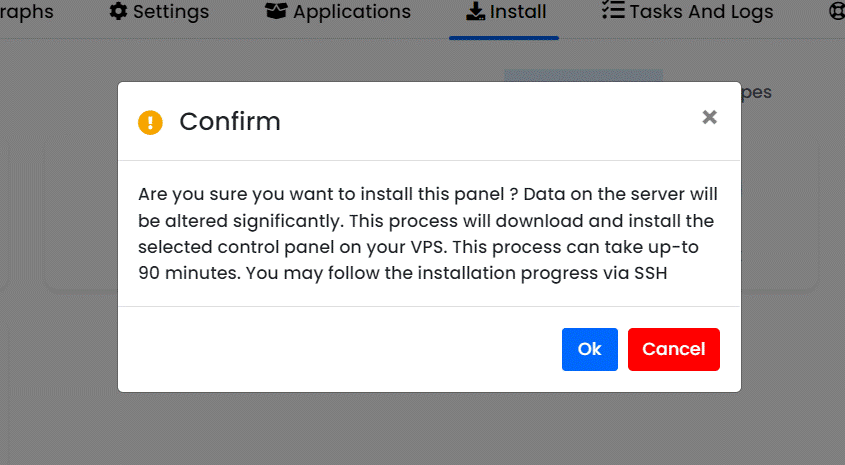
- Click to accept the data loss warning and start the automated InterWorx installation.
- Before the installation begins, you must shutdown the VPS by clicking the “STOP” icon, as shown in the image below:
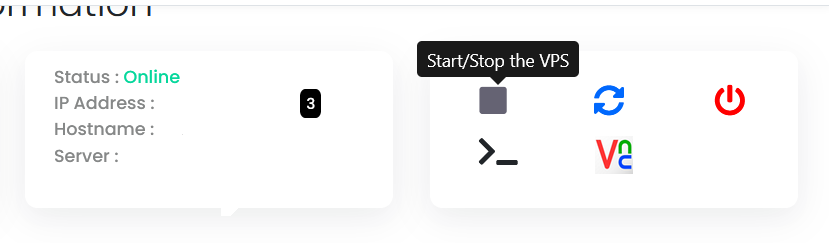
- Once the VPS has shutdown, click the “PLAY” icon to restart it, as shown below:
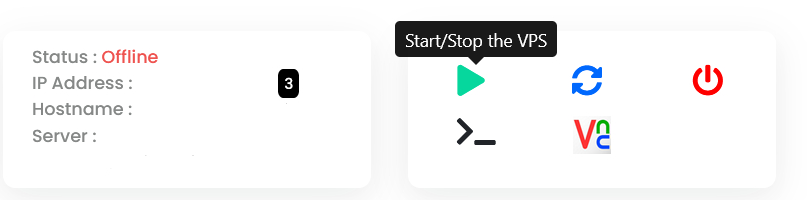
- When the VPS has booted, your installation will begin.
- An email with the control panel installation details will be sent.
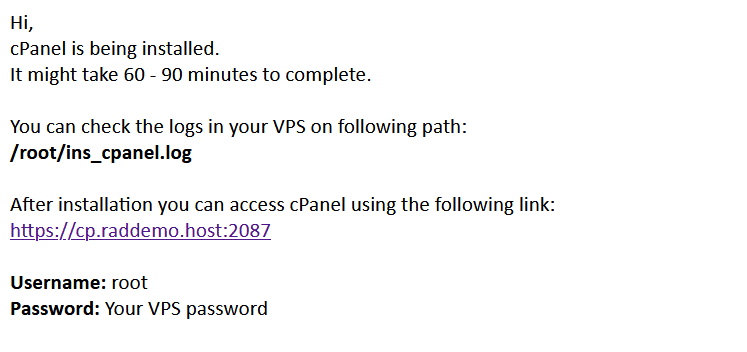
- You may now navigate to the InterWorx login screen in your browser to configure the InterWorx settings.
Access the InterWorx panel on port 2443.
The above guide assumes that a valid InterWorx license has been generated for your server’s IP address.
Conclusion
You now know how to install InterWorx on VPS Server with VPS Panel.